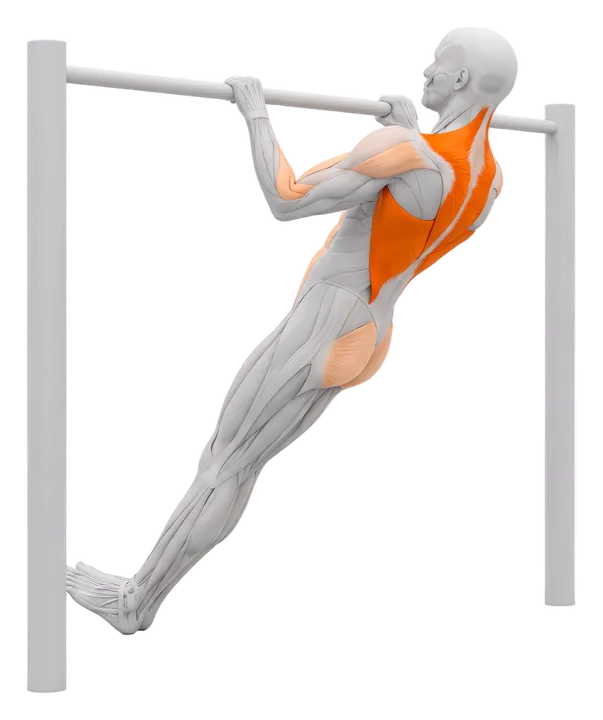
Inverted row muscles worked
| Muscle | Job in the movement | Role |
|---|---|---|
| Upper back (rhomboids, middle traps) | Pull the shoulder blades together as the chest rises | Primary |
| Lats | Pull the upper arms down and back | Primary |
| Biceps | Bend the elbows | Secondary |
| Rear delts | Draw the arms back, more with a wide grip | Secondary |
| Abs and obliques | Stop the hips sagging | Stabiliser |
| Glutes and hamstrings | Hold the body straight like a plank | Stabiliser |
What makes the inverted row special is the plank part. Your whole body acts as one rigid lever, so the abs and glutes work the entire set. A 2009 lab comparison of several row types (Fenwick and colleagues) found the inverted row combined high upper back muscle activity with low load on the lower spine, which is why coaches use it both for beginners and for lifters whose backs are tired from heavy back exercises.
How to do an Australian pull-up
- Set the barUse a barbell in a squat rack or a Smith machine bar at about hip height. The bar must be locked in place and unable to roll. Higher bar means easier reps.
- Get under itLie under the bar and grab it with an overhand grip a little wider than your shoulders. Your arms are straight and your chest sits under the bar.
- Make a plankHeels on the floor, legs straight, glutes squeezed, ribs down. Your body forms one line from heels to head. If straight legs are too hard, bend the knees and plant the feet.
- Pull the chest to the barSqueeze your shoulder blades together and pull until your lower chest touches or nearly touches the bar. Elbows travel back at about 45 degrees from the body.
- Lower to straight armsTake two seconds to return to a full hang with straight arms. Keep the body rigid on the way down, then start the next rep.
Form cues for the inverted row
- "Move like a board." Hips and shoulders rise together. If the hips lag behind, squeeze the glutes harder or bend the knees.
- "Chest to the bar, not chin." Reaching with the chin cuts the range and strains the neck.
- "Elbows back, not out." A 45 degree elbow path is comfortable for most shoulders. Fully flared elbows turn it into a rear delt movement.
- "Pause at the top." One second with the chest at the bar shows whether you own the rep or just bounced into it.
- "Straight arms at the bottom." A full hang every rep. Half reps do not build the strength you need for pull-ups.
Common mistakes
- Sagging hips. The most common fault. It shortens the range and takes the core out of the exercise.
- Shrugging up. Shoulders rise towards the ears. Think about putting the shoulder blades into your back pockets.
- Bar too low too soon. A horizontal body with sloppy reps is worse than a higher bar with clean ones.
Ring row, table row and other home options
You do not need a rack. Anything strong, stable and around waist height works, as long as it cannot move or tip.
| Variation | Setup | Difficulty |
|---|---|---|
| Ring row or TRX row | Rings or straps hung from a bar, door anchor or tree | Adjustable, rings let the wrists turn |
| Table row | Lie under a sturdy table and hold the edge | Low body angle, so fairly hard |
| Bent knee inverted row | Knees bent, feet flat on the floor | Easiest bar version |
| Straight leg inverted row | Heels on the floor, body straight | Standard |
| Feet elevated inverted row | Heels on a bench or box | Hard, near full bodyweight |
| Weighted inverted row | Weight vest, or a plate on the hips | Advanced |
| Underhand inverted row | Palms facing you, shoulder width | More biceps, a step towards chin-ups |
Rings and suspension straps are the easiest way to train this at home: hang them from a pull-up bar or a door anchor and walk your feet forward to make it harder. Before a table row, test the table with your full weight while standing next to it, and use one with solid legs. For a full plan built around this, see the back workout at home.
From inverted rows to your first pull-up
The inverted row trains the same muscles as a pull-up at a fraction of your bodyweight, and you choose the fraction. That is why it is the backbone of most pull-up progressions. Move through these stages, and only go to the next one when you can do the target reps with a one second pause at the top.
| Stage | Exercise | Target before moving on |
|---|---|---|
| 1 | Inverted row, bar at chest height, knees bent | 3 x 12 |
| 2 | Inverted row, bar at hip height, legs straight | 3 x 12 |
| 3 | Inverted row, feet elevated | 3 x 10 |
| 4 | Negative pull-ups (jump up, lower in 3 to 5 s) plus feet elevated rows | 3 x 5 negatives |
| 5 | First strict pull-up or chin-up, then sets of singles | 1 rep, then 3 x 2 to 3 |
Many people reach a strict chin-up a little earlier than a pull-up, because the underhand grip lets the biceps help more. Train the row two or three times a week while you progress, and keep a vertical pull in the plan too, such as negatives or the lat pulldown if you have one. Once you can do a few, the guide on how many pull-ups you should be able to do gives you the next target.
Sets and reps
| Goal | Sets x reps | Rest | Make it harder by |
|---|---|---|---|
| Beginner | 3 x 6 to 12 | 90 s | Lowering the bar a few centimetres |
| Pull-up progression | 3 to 4 x 8 to 12 | 90 s to 2 min | Moving to the next stage |
| Upper back growth | 3 to 4 x 10 to 20 | 60 to 90 s | Pausing 2 s at the top |
| Advanced, weighted | 3 to 4 x 6 to 10 | 2 min | Adding a vest or a plate |
In a bodyweight workout, pair inverted rows with push-ups as a superset: one pushes, the other pulls, and neither tires the other. In a gym plan, they work as the second row on a pull day, after heavier rowing.
How to progress without adding weight
Bodyweight rows progress in reps first, then in angle. Work up to the top of your range, for example 12 reps in all three sets, then make the angle harder and drop back to around 6 to 8. Write down the bar height (rack hole number) or how far your feet are from the anchor, otherwise you cannot tell if you are getting stronger. The idea is the same as in progressive overload with weights, just with leverage instead of plates.
Gripp tracks reps when there is no weight to add
Gripp logs the reps for every set and tells you what to aim for next time, so you can see when a stage is done. The exercise page shows a muscle map, and the AI coach can suggest when to swap rows for pull-up negatives in your plan, which only changes if you approve it.
Join the waitlistSimilar exercises
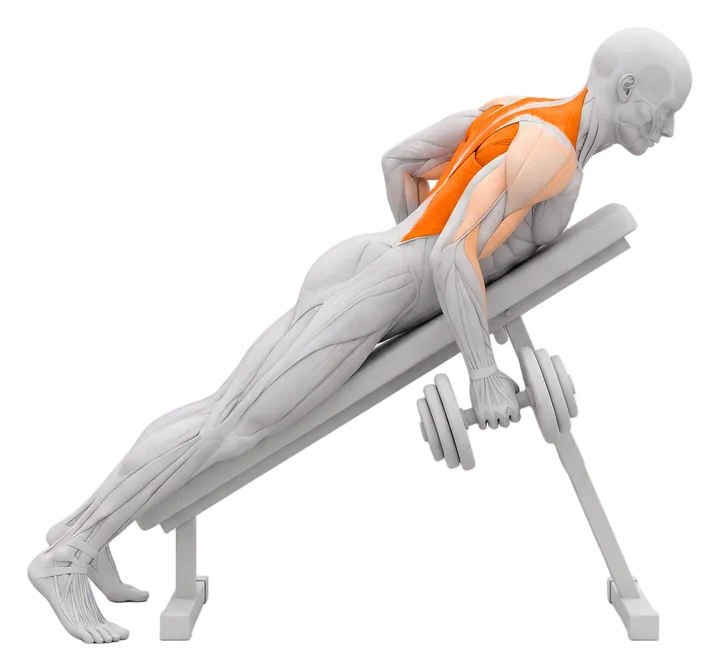 Chest-supported dumbbell rowUpper back and latsGuide
 Band pull-apartRear delts and upper back
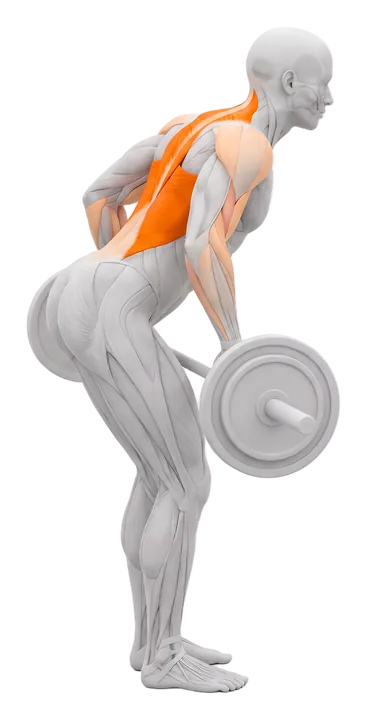 Barbell bent-over rowUpper back and lats
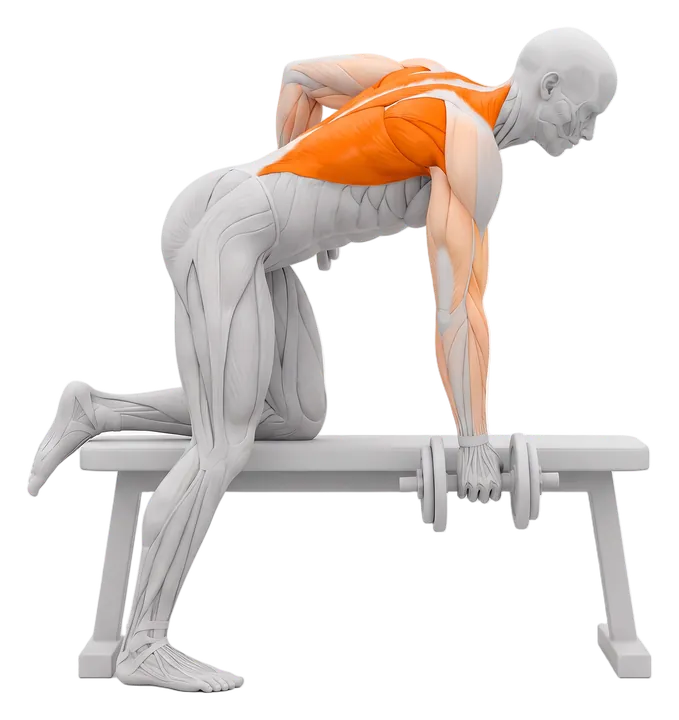 One-arm dumbbell rowLats and upper backGuide
 Seated cable rowUpper back and latsGuide